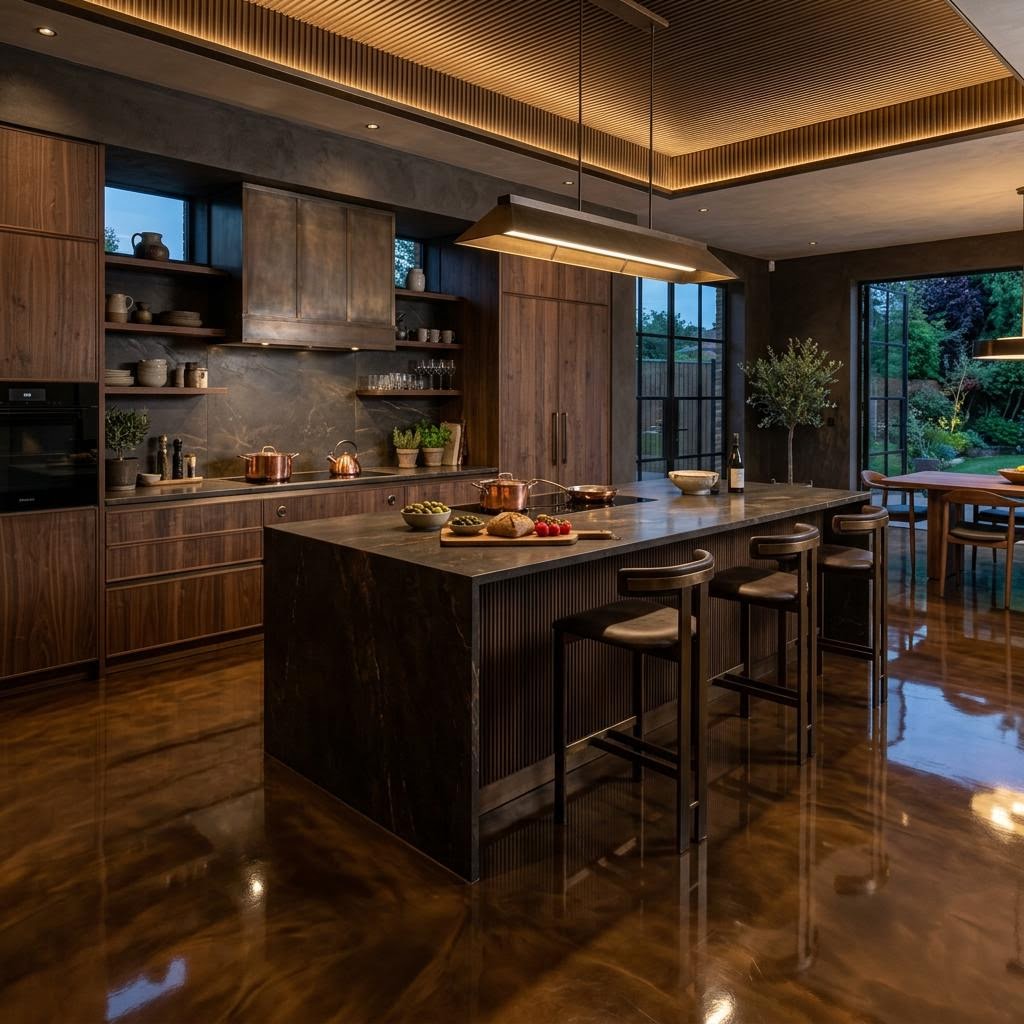
Kitchen design
Decorative resin kitchen floors: cabinetry, transitions and everyday use
Coordinate a low-sheen resin kitchen floor with island joinery, appliance clearances, adjacent finishes and everyday cooking and cleaning habits.
The short version
Resolve cabinet edges, appliance access and floor heights before choosing the final tone. A quiet seamless finish still depends on precise junction details.
Use the floor to support the kitchen palette
Kitchens are a published application for Epoxy Australia’s decorative resin flooring. Its matte or satin direction can create a calm field beneath detailed cabinetry and stone. Review the floor sample with the actual cabinet door, benchtop and splashback rather than choosing a neutral in isolation.
Warm lighting can shift how bone, oyster or grey tones appear. Place the sample flat beside the island and view it from adjoining living areas. The kitchen floor is often seen across a larger open-plan room, so a colour that works only close to the cabinetry may not be the right overall choice.
Decide the joinery and flooring sequence early
Ask the cabinetmaker, builder and flooring installer to agree where the coating continues and where it terminates. Fixed islands, kickboards and end panels need clear edge details. Installing the floor before or after cabinetry changes access and protection requirements; there is no universal sequence for every kitchen.
Check that the completed build-up allows a dishwasher or freestanding appliance to be removed later. A small increase in floor height can matter at tight plinths and benchtops. Confirm finished levels and door clearances on the drawings rather than discovering the conflict when appliances are reinstalled.
Detail transitions without assuming every line disappears
A resin surface can create continuity across the kitchen, but necessary slab joints and changes to timber, tile or external thresholds still need an appropriate detail. Agree whether a trim, expressed joint or another transition is required and how it sits relative to the island and doorway.
A coating does not automatically correct a level difference between rooms. Ask how any required levelling is addressed before the finish is applied. Where water management or waterproofing requirements apply, have the responsible project professional confirm the assembly rather than relying on the decorative surface alone.
- Confirm coating limits beneath islands and fixed cabinets.
- Check dishwasher removal and appliance foot clearances.
- Agree finished levels at adjoining rooms and external doors.
- Record joint and threshold locations before the pour.
Specify for cooking, chairs and cleaning
Explain normal cooking spills, chair movement, pets and cleaning products. Ask for the installed topcoat’s care instructions and chemical limitations; a sealed floor should not be treated as immune to every food, stain or cleaner. Wipe spills promptly using the recommended method rather than allowing residue to remain.
Use compatible pads under stools and avoid dragging appliances or metal furniture across the finish. Low sheen does not mean scratch-proof or maintenance-free. A kitchen specification is complete when its visual approval, edge details and everyday care requirements make sense together.
Want a clear answer for your space?